
Avoid Legal Trouble: Remove Underwear Tags Safely With a Seam Ripper
The safest way to remove a sewn-in underwear tag is to check the care label first, then use a seam ripper to lift and clip individual stitches so you take out thread, not fabric. Scissors work only when the tag hangs loose enough to cut without touching the garment. Never cut a locked security tag; return it to the store instead. If you would rather skip this entirely, a tagless design like the Contour™ Signature Boxer Brief avoids the problem from the start.
TL;DR:
- Using a seam ripper is the safest, most precise method for removing sewn-in tags without damaging the fabric or leaving loose threads; scissors should only be used when the tag is loosely stitched or attached to a fabric-facing strip.
- Testing adhesives or dyes on hidden fabric areas with alcohol or soap before treatment prevents damage, especially on delicate fabrics like silk, wool, or rayon.
- Never attempt to remove locked security tags yourself, as it risks damaging the garment, spilling ink, and potential legal issues; always return the item with the receipt for proper removal.
- For delicate fabrics, concealing tags with stitches or fabric strips reduces the risk of tearing or snags, making it a safer alternative to cutting.
- Choosing tagless underwear, like the Contour™ Signature Boxer Brief, eliminates the problem altogether by removing sewn-in labels and irritation sources from the start.
Table of Contents
- Tools and precautions before you start
- Step-by-step seam-ripper method for sewn-in tags
- Cutting a tag close with scissors when needed
- Concealing or folding a tag instead of cutting it
- Removing sticky residue safely based on fabric type
- Why you should never remove a locked security tag yourself
- Fixing frays, small holes, or loose stitches after removal
- A note on tags, comfort, and why we design around them
- Skip the tag problem entirely with a tagless design
- FAQ
- Sources
Tools and precautions before you start
Grab the right tools before you touch the fabric. A seam ripper does the real work, but a few backups keep you from making a small job worse.
- Seam ripper, small sharp scissors, and tweezers for pulling loose threads.
- White cotton cloths, 70% isopropyl alcohol, and mild dish soap for any leftover adhesive.
- A bowl of lukewarm water, paper towels, and an old gift card for scraping.
Check the care label before you begin: it often flags fabric blends that react badly to alcohol or heat. Then test a hidden inside seam with a damp cloth to confirm the dye will not bleed or fade. Work on a flat, well-lit surface with a paper towel slipped between the layers of fabric so your tool never slices through to the other side. If the garment is hand-knit, has a delicate print, or carries sentimental value, stop and take it to a tailor instead.
Pro Tip: Keep a small dish nearby for clipped threads so you are not hunting for stray fibers on the floor afterward.
Step-by-step seam-ripper method for sewn-in tags
A seam ripper is the preferred tool because its curved blade slides under a single stitch at a time, targeting thread instead of fabric. Community how-to guides on garment repair consistently point to this method for sewn-in labels, since it is far more forgiving than scissors.
- Lay the garment flat and locate the stitching line that anchors the tag.
- Slide the seam ripper’s point under one stitch at the edge of the label.
- Lift gently and cut that single thread, then move to the next stitch.
- Work slowly across the full width of the tag rather than yanking it free.
- Use tweezers to pull any loose threads left behind once the tag lifts away.
Keep the fabric taut as you work, and never pull on the tag itself while stitches are still attached. If you notice knit loops stretching or puckering, stop and switch to smaller, more deliberate cuts.
Pro Tip: A seam ripper reduces the risk of cutting structural threads compared with blunt scissor cuts, since it isolates one stitch at a time instead of slicing across several.

Cutting a tag close with scissors when needed
Scissors make sense when a tag is looped loosely through a single stitch point or sewn to a narrow fabric-facing strip rather than stitched directly into a seam. In that case, a small, sharp pair does less damage than forcing a seam ripper where there is little thread to grip.
- Use small embroidery scissors with a fine point for precision.
- Snip the thread bundle as close to the tag as possible, never touching the garment fabric.
- Follow up with tweezers or a seam ripper to clear any remaining thread stubs.
- Secure a slightly frayed spot with one tiny hand stitch or a dot of fabric-safe glue if needed.
Trim any stray fibers once the tag is gone, since loose threads tend to catch on future tags in the wash. Launder the item per the care label to settle the fabric back into shape before wearing it.
Concealing or folding a tag instead of cutting it
For delicate items, sometimes the safer move is to leave the tag in place and hide it rather than risk the fabric.
- Fold the tag flat against the seam and tack it down with a few small hand stitches.
- Sew a thin scrap of matching fabric over the tag so it lies flush against the skin.
- Apply fabric-safe tape or a short strip of bias binding over the tag edge.
- Turn the garment so the tag faces inward if the fabric allows it.
Concealing works well for silk, printed fabrics, and delicate knits where cutting risks a visible snag or hole. The tradeoff is that the tag’s bulk remains, which some people still find irritating against the skin, even if it is no longer scratchy or visible.
Removing sticky residue safely based on fabric type
Adhesive residue from printed tags or stickers needs a different approach than stitched labels, and the right method depends entirely on what the garment is made of. Check the care label, then test your chosen solvent on an inside seam before treating the visible area.
- Cotton, linen, denim, and most synthetics: dab with 70% isopropyl alcohol for 30 to 60 seconds, then rinse and launder as usual.
- Silk, wool, acetate, and rayon: skip alcohol and soak in lukewarm water with mild dish soap for 10 to 15 minutes, rolling the fabric gently rather than scrubbing.
- Old, dried-on adhesive: rub in a little olive or coconut oil, let it sit for about 10 minutes, then wash with dish soap to lift both the oil and the softened glue.
Testing first matters more than most people expect. Rubbing alcohol dissolves common adhesives on cotton and similar fabrics within 30 to 60 seconds, but colorfastness varies by dye and finish, so a quick seam test prevents a treated spot from turning into a faded one.
An old gift card is handy for scraping a sticker’s edge before you apply any liquid, and slipping a paper towel underneath the fabric keeps the solvent from bleeding through to the other layer.

Why you should never remove a locked security tag yourself
Locked retail security tags, the hard plastic clips with an ink cartridge or electronic sensor inside, are built to resist exactly the kind of tools used for sewn-in labels. They differ completely from a soft fabric tag: they lock onto the garment with a pin and are meant to come off only with a special magnetic or mechanical release at the store.
- Attempting to pry or cut one open risks damaging the garment and spilling ink.
- Removing a theft-detection device without the merchant’s consent is treated as a criminal offense in some states, so forcing one off is not worth the legal exposure.
- Possessing or using a device remover with intent to strip a tag from merchandise held for resale can itself support criminal charges in certain jurisdictions.
- Bring the item and your receipt back to the store, or call customer service to arrange removal.
If the tag already nicked the fabric, ask the retailer to replace the item or repair the damage rather than attempting a fix yourself.
Fixing frays, small holes, or loose stitches after removal
A little fraying or a tiny hole after tag removal is common and usually easy to fix at home. Trim any loose fibers close to the fabric, then press the area flat with a warm iron to help it lie smooth again. For a small fray, a few invisible hand stitches on the underside, or a dot of fabric-safe glue, holds things in place without showing on the outside.
- Darn small holes in knit fabrics with matching thread, weaving over and under the gap.
- Use an overcast stitch around the hole’s edge for woven fabrics to stop further unraveling.
- Wash the item inside out going forward, and use a mesh bag for anything delicate.
- Skip high-heat drying, which tends to worsen small snags over time.
Pro Tip: If the garment is expensive or holds sentimental value, a professional tailor can usually reweave a small hole so it is nearly invisible, which is worth the cost on pieces you plan to keep for years.
A note on tags, comfort, and why we design around them
After years of looking closely at men’s apparel construction, the nuisance of a stiff, scratchy tag at the waistband stands out as one of those small design failures nobody should have to tolerate daily. That frustration is part of why we built the Contour™ Signature Boxer Brief without one at all: a tagless waistband, a non-rising leg, and fabric soft enough that there is nothing left to notice.
— Tim
Skip the tag problem entirely with a tagless design
If cutting threads and testing solvents sounds like more trouble than it is worth, the simplest fix is leak-proof, reusable period underwear with multiple absorbency levels that never had a tag sewn in to begin with. The Contour™ Signature Boxer Brief is built tagless from the start, so there is nothing scratchy to remove and nothing to damage trying.
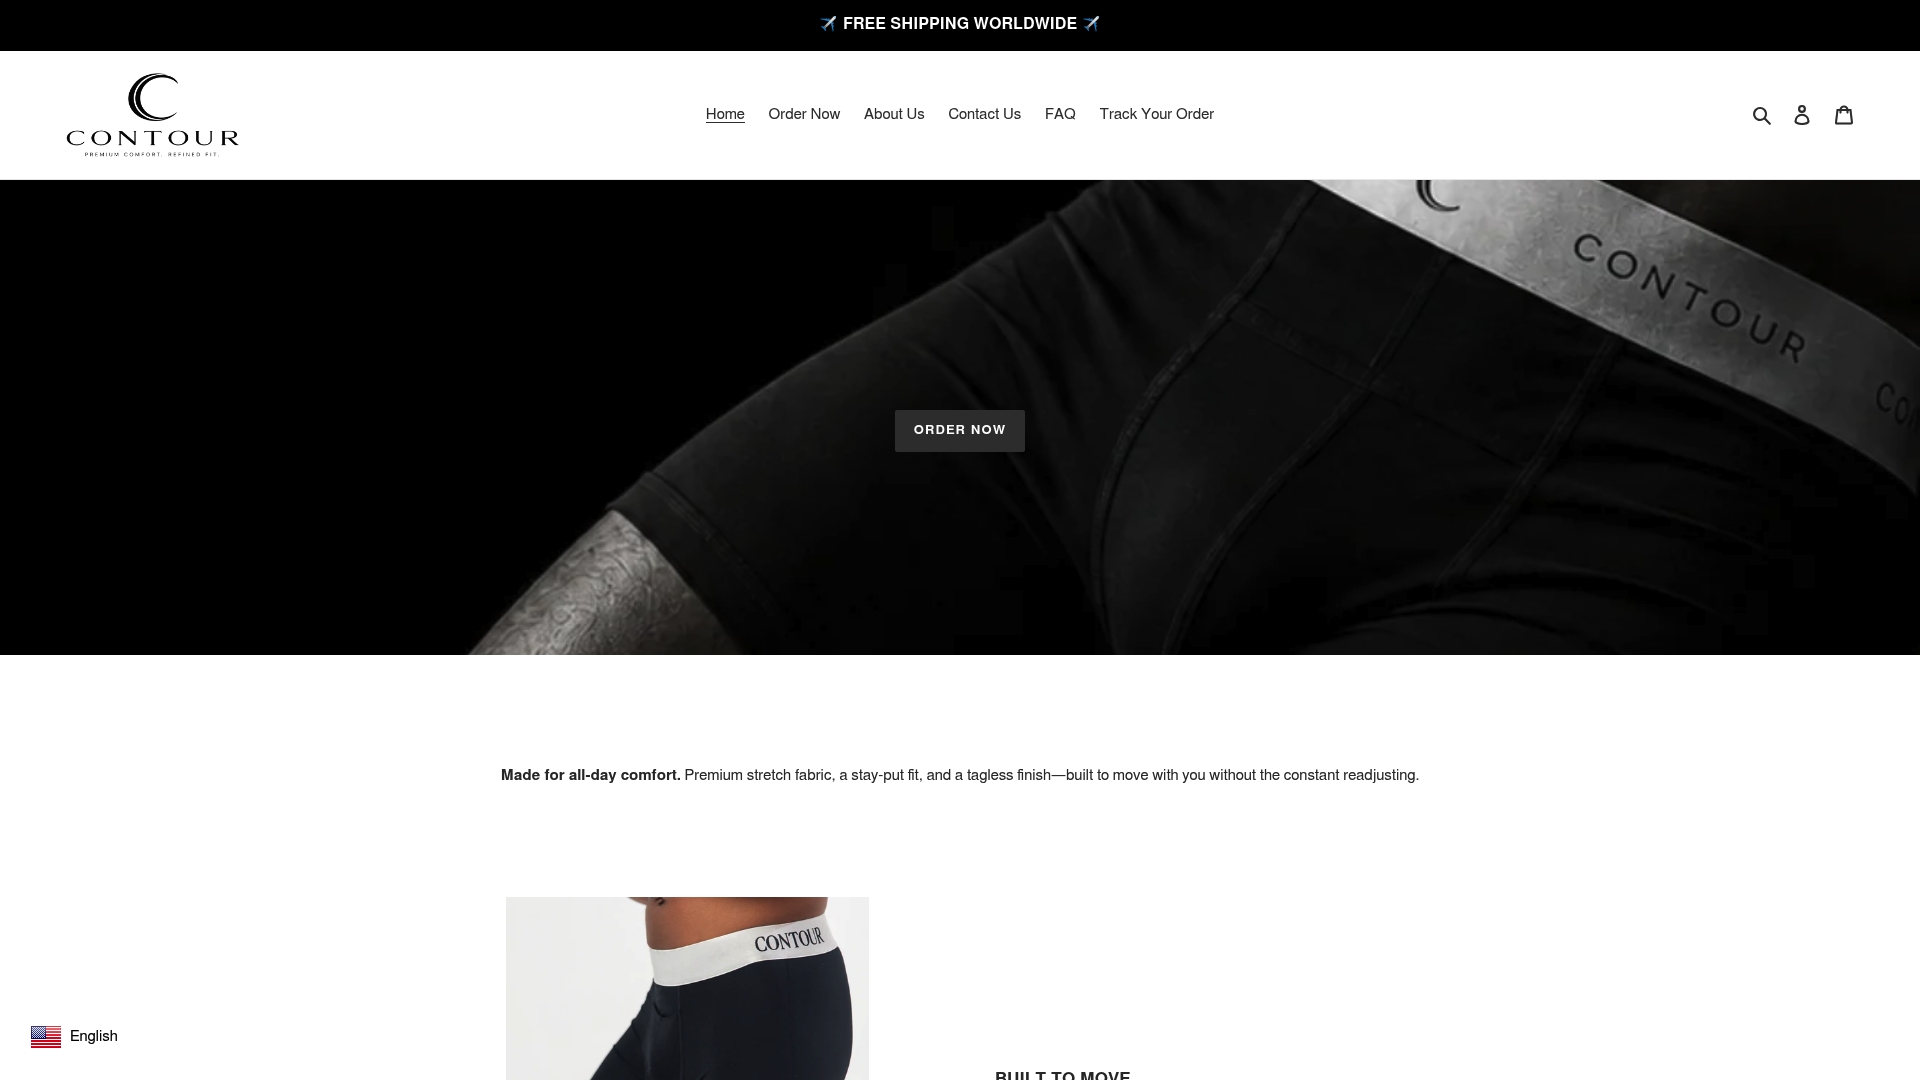
- Tagless waistband construction, with no printed or sewn-in label to irritate skin.
- A design that stays put through a full day of movement.
- Breathable, stretchy fabric that maintains its shape over time.
Check the size guide to find your fit, then order a pair from our product page and leave tag removal behind for good.
FAQ
How can I remove a tag without cutting it?
Slide a seam ripper under each stitch individually and lift the thread away rather than slicing across the label. This method, widely recommended for sewn-in labels, keeps the blade off the fabric itself and leaves the seam intact once the thread is gone.
How can I remove a label from clothing without damaging the fabric?
Check the care label first, then work stitch by stitch with a seam ripper instead of pulling the label free by hand. If adhesive residue remains, test a cleaning method like rubbing alcohol on an inside seam before applying it to the visible area, since colorfastness varies by fabric and dye.
What should I do if a store forgot to remove a security tag?
Bring the item and your receipt back to the original store so staff can release the tag with their magnetic or mechanical detacher. Do not attempt to pry or cut it off yourself, since removing a theft-detection device without the merchant’s consent can carry criminal penalties depending on the state.
Can any shop remove a security tag?
Not necessarily. Most retailers can only release the specific type of tag their own stores use, so returning to the store that sold the item is the most reliable option, and calling ahead saves a wasted trip.
Does Wear Contour underwear come with a tag to remove?
No. These boxer briefs are built with a tagless waistband, so there is no sewn-in label to deal with at all.